The Difference Between "Tablet on a Counter" and "Photo Frame"
A photo frame is something you glance at and smile. A tablet leaning against the toaster is something you eventually knock over while reaching for the coffee.
The right stand or mount makes this feel intentional – like a piece of furniture, not an abandoned device. And it doesn’t have to cost much. A $5 easel from a craft store works. A $15 wall mount looks professional. A $20 frame case makes the iPad genuinely look like a picture frame.
Option 1: Tabletop Stands ($5-15)
The simplest option. You already have a flat surface – shelf, counter, nightstand, console table – so you just need something to hold the iPad at a slight angle.
Wooden tablet stands ($10-15 on Amazon) are the most photo-frame-like option. They come in bamboo, walnut, or oak finishes, and the tablet just sits in a groove. Subtle enough that guests might not immediately realize it’s an iPad.
Picture easels ($5 at any craft store) work surprisingly well for smaller tablets. An iPad mini on a small wooden easel looks like an actual framed photo from across the room.
Adjustable tablet stands (~$20, brands like Lamicall or similar) give you angle control. Good for a kitchen counter where you need to see the screen from a specific spot. Less elegant than a wooden stand, more functional.
The cable problem. Every stand setup has a charging cable running to the back. Route it behind the stand and along the wall. Use a cable clip or a small piece of painter’s tape to keep it tidy. It’s the one detail that separates "photo frame" from "charging device."
Option 2: Wall Mounts ($10-20)
Wall mounts make the tablet look most like a traditional framed photo. The iPad sits flat against the wall, slightly angled, with just the screen visible.
Adhesive mounts like the Koala Mount (~$17) stick to the wall with 3M adhesive strips – no drilling, no holes, no landlord issues. They hold the tablet securely and can be removed without damaging the wall. Perfect for renters.
Screw-in mounts ($10-20) are more permanent but also more secure. If you have kids or cats with a talent for knocking things down, this is the safer choice.
Flush wall mounts ($20-30) are the premium option – the iPad sits nearly flat against the wall like an actual picture frame. They require drilling but the result looks built-in.
Where to mount it:
- Hallway – everyone walks past it multiple times a day
- Kitchen – visible while cooking, eating, making coffee
- Living room – on a shelf or mounted near where people sit
- Near the front door – a nice thing to see when you come home
Avoid mounting it where direct sunlight hits the screen – the glare ruins the effect, and prolonged sun exposure isn’t great for the display.
Option 3: Frame Cases ($15-25)
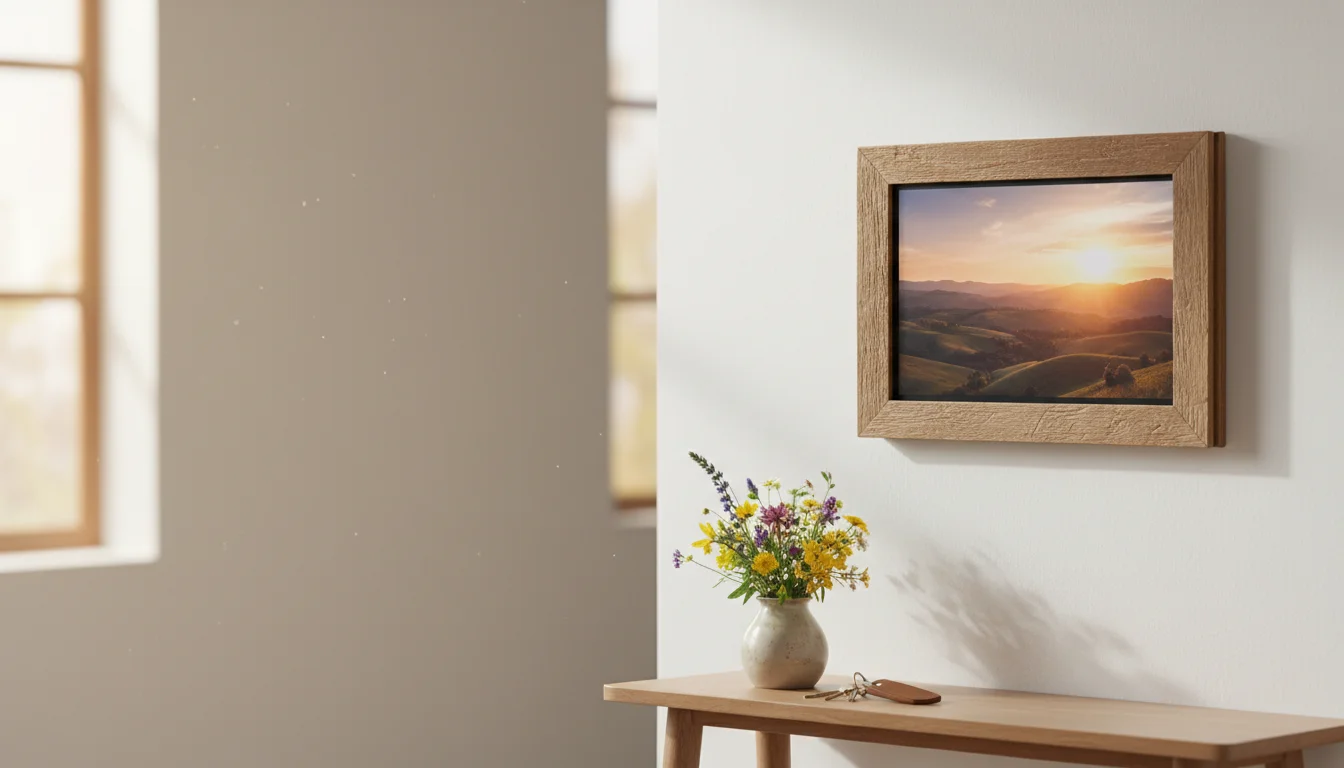
These are hard cases that surround the iPad like a traditional picture frame – wood grain, white border, black gallery frame. The result genuinely looks like a framed photo on the wall or shelf.
Search Amazon for "iPad photo frame case" or "tablet picture frame case." They’re available for most iPad sizes. The case adds a border around the screen that hides the tablet bezels and makes the display look intentional.
What I like: Guests literally don’t realize it’s a tablet until the photo changes. It looks that good.
What I don’t: The case adds bulk, and you need to find one that fits your specific iPad model. Also, accessing the charging port can be awkward with some designs – check reviews before buying.
Display Settings That Matter
The hardware only gets you halfway. These settings make the photos actually look good.
Brightness
Auto-brightness on. The screen should be bright in a lit room and dim when the lights are off. Manual brightness set to 50% is a reasonable default if auto-brightness doesn’t work well on your older tablet.
Night Shift / Warm Colors
Turn on Night Shift (iPad) or Night Light (Android) on a schedule – sunset to sunrise. Photos look better in warm tones anyway, and your eyes won’t get blasted by blue light when you walk past at midnight.
Orientation
Landscape for most photos. Most of us take photos in landscape. Set the slideshow to landscape and the iPad to landscape orientation lock. Vertical photos will show with black bars on the sides – that’s fine and looks better than constantly rotating.
Portrait if you’re using a frame case that’s designed to stand vertically. Some frame cases are built for portrait orientation, and vertical is more like a traditional picture frame.
Transition Speed
5 seconds per photo is too fast. 15-30 seconds is the sweet spot – long enough to actually look at each photo, short enough that it doesn’t feel frozen.
Dissolve or crossfade transitions look the most frame-like. Avoid slides, flips, or anything that reminds you it’s a screen.
Keeping It Running
A few maintenance tips so the photo frame doesn’t become another drawer-bound device:
Keep it plugged in. This is a stationary display. Use a long cable if the outlet isn’t right behind the stand. A 10-foot (3 m) Lightning or USB-C cable costs a few dollars and solves most routing problems.
Restart it monthly. Old tablets get sluggish if they run continuously for weeks. A quick restart (hold power button, slide to power off, turn back on) keeps things smooth. Set a monthly reminder if you’re the type to forget.
Update the album. A photo frame showing the same 30 photos from last summer gets stale. If you’re using a shared album, new photos should flow in automatically. If you’re using a local album, add fresh photos every few weeks.
Clean the screen. A dusty screen looks terrible when the display is off and noticeable when it’s on. A quick wipe with a microfiber cloth every week or two keeps it looking sharp.
The Quick-Start Checklist
- Pick your spot (shelf, wall, nightstand)
- Choose your mount type (stand, wall mount, or frame case)
- Route the charging cable neatly
- Set Auto-Lock to Never
- Set Night Shift on a schedule
- Set transition to dissolve, 15-30 seconds
- Lock orientation to landscape (or portrait for a frame case)
- Turn off all notifications
- Point it at your shared family album
- Done
Total hardware cost: $5-25. Total setup time: about 15 minutes.
And the next time you walk past it on the way to the kitchen, you’ll see yesterday’s photo of the kids at the park. That’s the kind of technology that actually makes a house feel like a home.
Still picking a slideshow app? Our photo frame app compatibility list shows which apps still install on older iPads and Android tablets.
← Back to the Digital Photo Frame Guide