The Physical Install
You’ve got a clean, configured tablet running the right app. Now it needs to go somewhere permanent – and look like it belongs there.
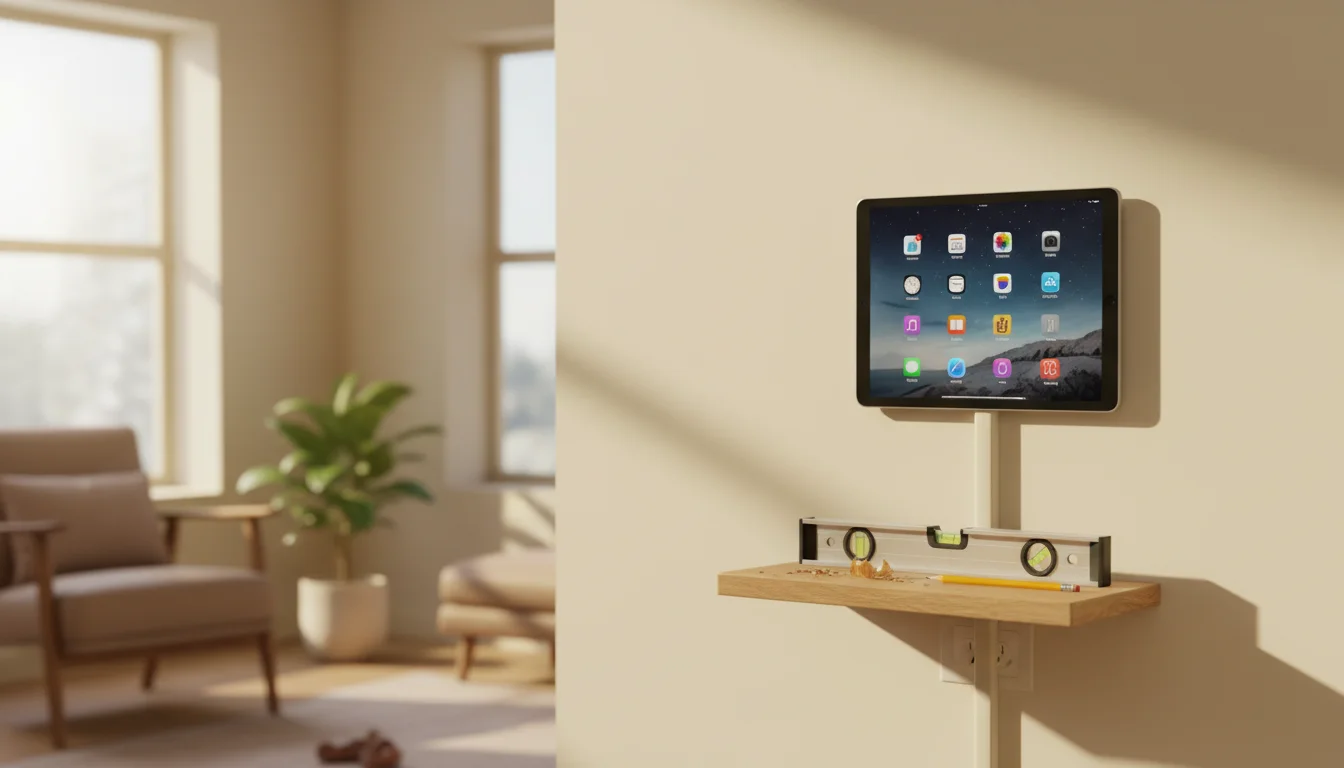
Choosing a Spot
Before you buy a mount, stand in each candidate spot and think about four things:
Visibility. Can you see the screen from where people actually spend time? A kitchen display should be readable from the stove and the table. A hallway display should be visible as you walk past. Hold the tablet in position at arm’s length and check sight lines.
Glare. Direct sunlight hitting the screen makes it unreadable and shortens the display’s life. Morning sun through a kitchen window, afternoon sun in a hallway – check at different times of day. Slight angles to windows are fine; direct sunlight is not.
Power. Where’s the nearest outlet? A 6-foot (1.8 m) cable covers most situations. A 10-foot (3 m) cable handles almost everything. If the nearest outlet is across the room, you’ll need an extension cord or a longer cable – plan for this before mounting.
Height. For a wall mount, eye level (5 feet / 150 cm from the floor) is standard. For a kitchen display you’ll read from the counter, mount it slightly lower. For a hallway display you’ll glance at while walking, slightly higher is fine.
Mounting Options
We have a full guide on mounts and stands with specific product recommendations. Here’s the quick summary for this step:
Tabletop stand ($5-15) – Easiest. Place it on a counter, shelf, or nightstand. No holes, no tools, move it anytime.
Adhesive wall mount ($15-17) – Sticks to the wall with 3M strips. No drilling. Clean removal. Best for renters or anyone who doesn’t want to commit to a spot.
Screw-in wall mount ($10-20) – Drill two holes, screw in the bracket, slide the tablet in. More secure than adhesive, better for busy rooms with kids.
Flush wall mount ($20-40) – The tablet sits nearly flat against the wall. Requires cutting into drywall and routing the cable inside the wall. A half-day project, but the result looks professional.
Pick your mount type based on how permanent this install is. Most people should start with a tabletop stand or adhesive mount – you can always upgrade later once you know the tablet’s staying.
Cable Routing
The charging cable is the single detail that separates "clean install" from "tablet on the wall with a cable dangling down."
Surface Routing (No Holes)
Run the cable along the wall using adhesive cable clips ($5 for a pack of 20). Route it along baseboards, behind furniture, or along the edge of a cabinet. Paint-matched clips are nearly invisible.
Right-angle cables ($8) keep the cable flat against the wall at the tablet instead of sticking straight out. This alone makes a huge visual difference.
Cable channels ($8-12 for a pack) are plastic raceways that stick to the wall and hide the cable inside. Available in white, beige, and paintable. They look like trim and disappear against most walls.
In-Wall Routing (Clean Install)
For a truly invisible setup, route the cable inside the wall.
- Install a cable pass-through plate behind the tablet ($10 at any hardware store)
- Install a matching plate near the floor-level outlet
- Drop the cable through the wall cavity
- Plug into a recessed outlet or a standard outlet with a flat-plug adapter
This requires basic drywall work – cutting two small holes and fishing a cable. If you’ve ever installed a TV wall mount, it’s the same process. If you haven’t, there are good tutorials online and it’s a learnable skill.
Note: Don’t run a power adapter or extension cord inside the wall – building codes in most places only allow low-voltage cables (like USB or ethernet) inside walls without conduit. Run the USB cable through the wall and plug the adapter into an outlet on the outside.
Power and Battery Management
You’re keeping this tablet plugged in 24/7. Here’s how to do it with minimal battery drama.
The Battery Reality
Lithium batteries degrade when kept at 100% charge for extended periods. After 1-2 years of constant charging, the battery will hold less charge and might swell slightly. This is normal and expected.
The practical answer: don’t worry about it. The tablet is a stationary display now, not a portable device. If the battery degrades, the tablet still works fine plugged in. A free display that lasts two years before the battery gets unreliable is still a far better deal than a $150 dedicated display device.
If You Want to Mitigate
iPads: Older iPads (the ones this guide targets) have no user-facing battery management setting at all. Apple handles charge management automatically in the background. Only the newest iPads (M-series and late 2024 models) have an "80% Limit" toggle under Settings → Battery → Battery Health. If you don’t see it, your iPad doesn’t have it, and that’s fine. The smart plug approach below is your best option.
Android (Samsung): Settings → Battery → Battery Protection → On. This caps charging at 85%.
Android (other): Some manufacturers have similar settings. Check Settings → Battery for any optimization or protection options.
Smart plugs: A $10 smart plug on the charger can be set on a schedule – power on from 7 AM to 11 PM, off overnight. The tablet runs on battery overnight (dimmed or asleep) and charges during the day. This cycling is gentler on the battery than constant 100%.
What Adapter to Use
Use the original charger if you still have it. Any USB charger rated 5V/2A or higher works. Avoid no-brand $3 chargers – a quality charger from Anker, Apple, or Samsung costs $10-15 and won’t overheat.
For a 10-foot (3 m) cable run, use a cable rated for data+power (not a charge-only cable). Cheap long cables with thin wires can deliver less power than the tablet consumes, causing the battery to slowly drain even while plugged in.
Monthly Maintenance
Set a calendar reminder for the first of each month. Takes 5 minutes.
Restart the tablet. Hold the power button, power off, wait 10 seconds, power on. Old tablets get sluggish after running continuously for weeks. A monthly restart clears memory and fixes most slowdowns.
Check for software updates. Go to Settings → Software Update and install any available updates. Do this manually rather than letting it auto-install at random times.
Clean the screen. A microfiber cloth, dry or slightly damp. Dust and fingerprints are more noticeable on a display that people look at every day.
Check the cable. Make sure the charging connection is solid and the tablet is actually charging. Lightning cables especially can get flaky after months of constant use.
Update your app. Open the App Store or Play Store and update the display app if a new version is available. Older app versions occasionally stop syncing or develop bugs that newer versions fix.
Troubleshooting
Screen went black. Tap the screen. If nothing happens, press the power button. If nothing happens, check the charging cable – it may have come loose or the adapter may have lost power.
App crashed / showing home screen. The display app ran out of memory. Restart the tablet (power off, power on) and reopen the app. If it keeps happening, the app may be too heavy for this tablet – try a lighter alternative.
"Storage Almost Full" warning. Old photos, app caches, or system files are filling up. Go to Settings → Storage and clear caches, delete old apps, and remove photos you’ve already backed up.
Screen is dim and won’t brighten. Auto-brightness may be stuck. Toggle auto-brightness off and on. If the sensor is unreliable, set manual brightness to 50-60%.
Display looks washed out or too warm. Night Shift or Night Light might be on during the day. Check the schedule: Settings → Display → Night Shift/Night Light.
"Update Required" popup won’t go away. Some iOS updates are persistent. If you don’t want to update, you can dismiss the notification (it’ll come back eventually). On Android, you can disable the system update service, but a simpler fix is to just install the update during your next maintenance window.
The Final Checklist
Your tablet display is complete when:
- [ ] Tablet is clean, updated, running one app
- [ ] All settings from Part 2 are configured
- [ ] Mounted or placed in its permanent spot
- [ ] Charging cable routed and secure
- [ ] Display app is running and showing the right content
- [ ] Monthly maintenance reminder set on your phone
Total project time: 2-3 hours including charging and update time. Most of that is waiting.
The result: a piece of useful home technology that cost you nothing but a Saturday afternoon. And every time you walk past it – seeing the weather, the family calendar, yesterday’s photos – you’ll wonder why you didn’t do this sooner.
← Back to the Complete Setup Guide