The iPad That Just Sits There
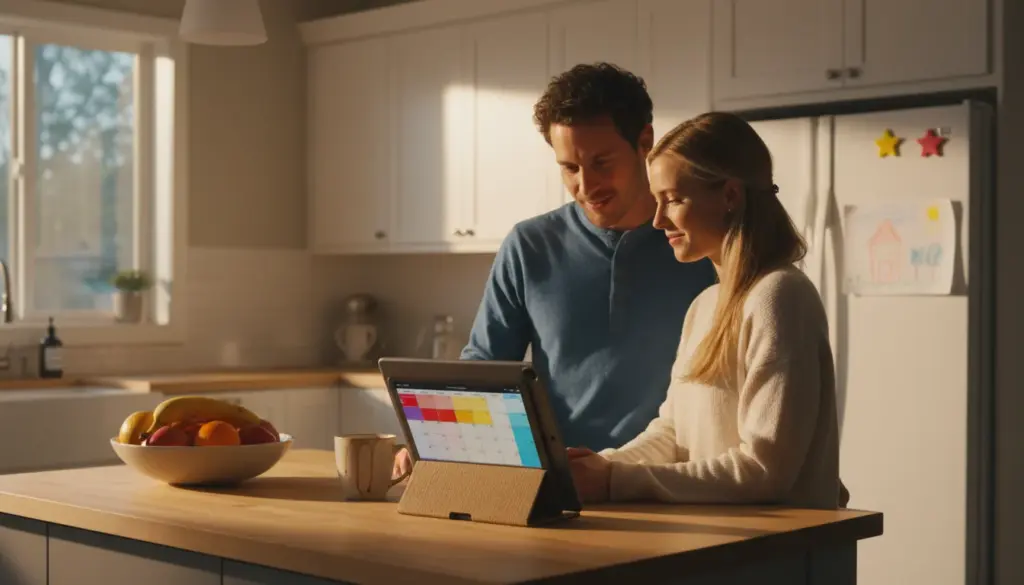
There’s an old iPad in your house doing nothing. Too slow for games, too old for the latest apps, but it turns on and connects to WiFi. That’s enough to replace a $100 smart display.
A household dashboard is just a screen that shows you things at a glance: today’s weather, the family calendar, maybe photos cycling in the background. You walk past it in the hallway and know whether the kids need jackets. You glance at it from the kitchen and see that soccer practice got moved to 4:30. The $299 Echo Show 15 is the same idea already mounted and running.
You don’t need Home Assistant. You don’t need to be technical. You need an iPad, 15 minutes, and one of these three approaches.
Option 1: iPad Widgets (5 Minutes, Zero Apps)
The fastest way to get a working dashboard is to use what’s already on the iPad.
On iPadOS 15 or later:
- Long-press on the home screen until the icons wiggle
- Tap the + button in the top left corner
- Add widgets: Weather (large), Calendar (medium), Reminders (small)
- Arrange them so the most-glanced info is at the top
- Go to Settings > Display & Brightness > Auto-Lock > Never
That’s it. You now have a dashboard showing weather, your next few calendar events, and your reminders. Prop it on the counter or a stand and plug it in.
On iOS 12 or iPadOS 13-14: You don’t get home screen widgets, but the Today View works. Swipe right from the home screen to see the widget panel. Add Weather, Calendar, and whatever else you want. It’s not as clean as home screen widgets, but it gives you the same glanceable information.
Limitations: The widget approach is basic. You can’t customize fonts, backgrounds, or combine different data sources into one view. The screen shows your regular home screen with widgets on it, not a dedicated dashboard layout. If “good enough” works for you, stop here.
Option 2: DAKboard (The Polished Dashboard)
If you want something that looks like it was designed to be a wall display,  DAKboard is the answer.
DAKboard is a web-based dashboard that you open in Safari. You sign up, connect your calendars and photo sources, pick a layout, and point your iPad’s browser at your personal DAKboard URL. The display shows your calendar events overlaid on a cycling photo background, with weather, time, and whatever else you add.
Free tier setup:
- Go to dakboard.com on your phone or computer and create an account
- Choose from the predefined layouts – the free tier gives you up to 2 calendars with basic layouts
- Choose a background: your own Google Photos album or a daily photo feed
- Customize the layout: rearrange blocks for calendar, weather, time, news
- On the iPad, open Safari and go to your DAKboard URL
- Tap the share button > Add to Home Screen. This gives you a full-screen bookmark
- Open it, and set the iPad to never auto-lock
The free version gives you a taste of what DAKboard can do. You get predefined layouts with weather, time, and photos. It’s enough for most households to figure out if they like having a dashboard on the wall.
Paid tiers: The Essential plan ($6/month, or $5/month billed yearly) unlocks all calendar integrations – Google Calendar, iCloud Calendar, Microsoft, and ICS feeds – plus custom layouts and up to 2 screens. The Plus plan ($10/month, or $8/month billed yearly) adds screen rotation and scheduling for different dashboards at different times of day. Most families won’t need Plus unless they’re running dashboards in multiple rooms.
One catch: Google Calendar (up to 2 calendars) works on the free tier. iCloud Calendar, Microsoft/Office365, and ICS feeds require Essential or higher, which also bumps the calendar cap to 5. If your household runs on iCloud Calendar, the Essential plan handles that directly without workarounds.
Option 3: Apple Home Dashboard
If your household uses Apple HomeKit devices (smart lights, a thermostat, cameras) and your iPad runs iPadOS 16.2 or later, the built-in  Apple Home app turns it into a control center and status dashboard.
Heads up on older iPads: Since Apple’s February 10, 2026 HomeKit architecture cutover, the Home app requires iOS/iPadOS 16.2 or later. iPad Air 2, iPad mini 4, and other iPads stuck on iOS 15 or earlier can no longer use Home – which rules out a lot of the “iPad in the drawer” demographic. If that’s you, stick with Option 1 or Option 2.
Open the Home app, and you see the state of every connected device: lights on or off, thermostat temperature, camera feeds. You can control everything from one screen.
This is a different kind of dashboard. It’s less “weather and calendar” and more “what’s happening in the house right now.” If your home has a few HomeKit devices, the iPad on the wall becomes a quick way to check and control them without pulling out your phone.
To keep Home as the default view: set it as the only app on the first home screen page, then use Guided Access (next section) to lock the iPad to it.
Lock It Down with Guided Access
Kids will pick up the dashboard iPad. They will try to open YouTube. Guided Access prevents this.
- Go to Settings > Accessibility > Guided Access and turn it on (on iOS 12, the path is Settings > General > Accessibility > Guided Access)
- Set a passcode (not the same as the iPad’s lock code – pick something the kids don’t know)
- Open your dashboard app (Safari with DAKboard, or Apple Home, or the widget home screen)
- Triple-click the side button (or Home button on older iPads) to start Guided Access
- Tap Start
The iPad is now locked to that one app. No swiping home, no switching apps, no “accidentally” opening Netflix. To exit, triple-click again and enter your passcode.
This is the single setting that turns “neat project” into “thing my family actually uses.” Without it, the dashboard lasts about 48 hours before someone exits it and it never gets put back.
Settings That Keep It Running
These small tweaks make the difference between a dashboard that works every day and one that needs constant attention.
Auto-Lock: Never. Settings > Display & Brightness > Auto-Lock > Never. If the screen locks, nobody walks past and glances at it. The whole point is that it’s always on. For more detail, our always-on settings guide covers this for every iPad model.
Do Not Disturb: On. Settings > Focus > Do Not Disturb > turn it on and set a schedule (or just leave it on permanently). No notification sounds, no pop-up banners interrupting your weather display.
Brightness: Manual. Turn off Auto-Brightness (Settings > Accessibility > Display & Text Size > Auto-Brightness off). Set a brightness level that works for the room. Auto-brightness causes the screen to shift constantly and it’s distracting on a dashboard.
Night dimming: If the iPad is in a room you pass through at night, use the Shortcuts app to schedule brightness changes. Create an automation: at 9 PM, set brightness to 10%. At 7 AM, set it back to 70%. This keeps it from lighting up the hallway like a spotlight after bedtime.
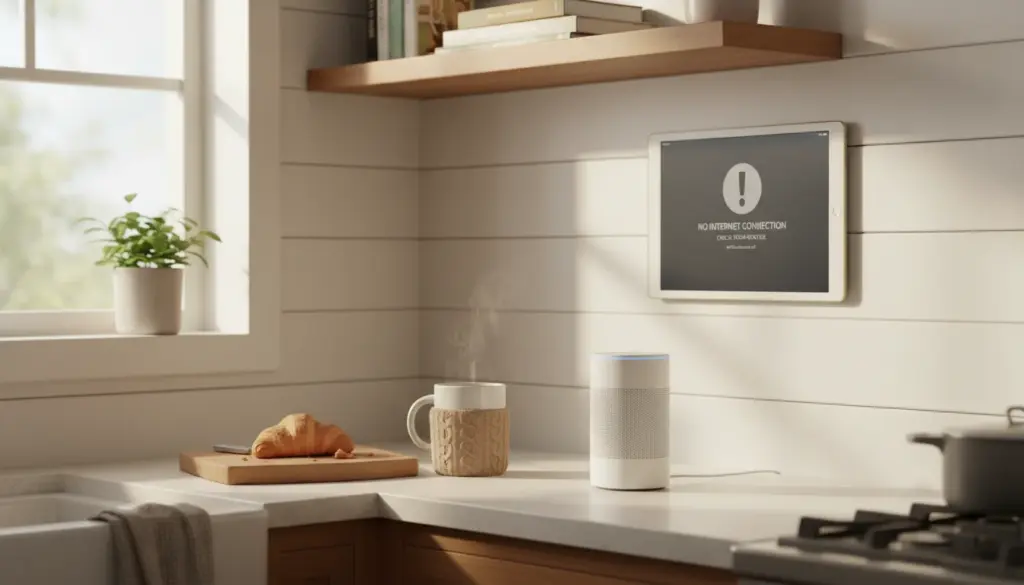
WiFi: Stay connected. Some iPads disconnect from WiFi during low-power states. If your dashboard goes blank periodically, check Settings > WiFi and make sure “Auto-Join” is on for your home network. Keeping it plugged in also helps – the iPad is less aggressive about power saving when it’s charging.
Where to Put It
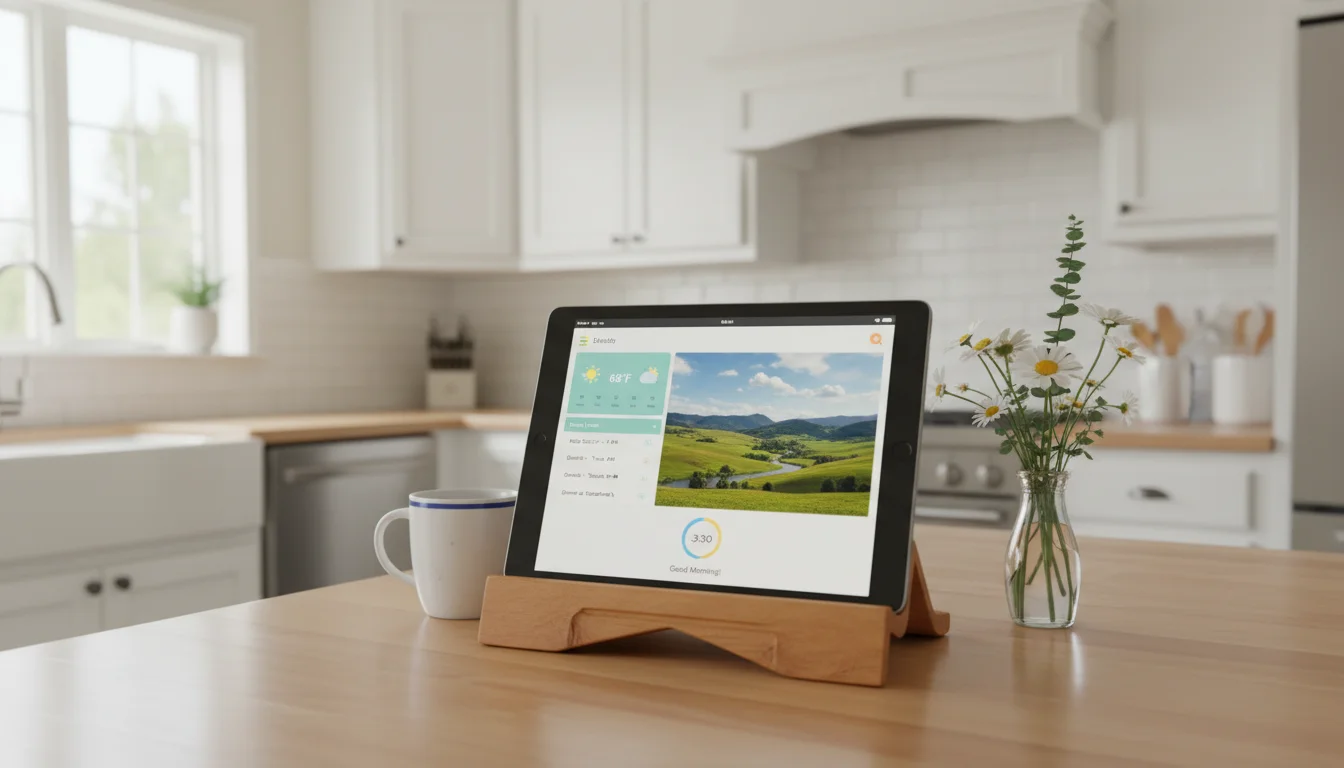
Kitchen counter is the most popular spot. Prop it on a small stand next to the coffee maker. Weather and calendar visible while making breakfast.
Hallway wall near the front door. Mount it at eye level so everyone checks the forecast on the way out. Our mounts and stands guide has flush-mount and bracket options for wall mounting.
Living room shelf or side table. Photo slideshow as the default, calendar visible when you glance over.
One thing to watch: if the iPad is plugged in 24/7, keep an eye on the battery. Older iPads weren’t designed for permanent charging. Most are fine, but check for swelling every few months, especially if it’s warm to the touch.
For Tinkerers: Home Assistant
If you want a dashboard that controls your entire smart home, pulls data from dozens of sensors, and looks like something out of a sci-fi movie, that’s Home Assistant territory. We have a full guide to setting up an old tablet as a Home Assistant dashboard. Fair warning: it’s a project, not a 15-minute setup.
For everyone else, the three options above cover what most households actually want: a screen on the wall that shows you useful information without asking anything in return.
Grab the iPad from the drawer, pick the option that matches your patience, and give it a job. Worst case, it goes back in the drawer. Best case, you stop pulling your phone out of your pocket every time someone asks what the weather is. If a dashboard doesn’t stick, there are dozens more ways to put that iPad to work.