Why Old Tablets Make Great HA Panels
If you’re already running Home Assistant, you know the drill: pull out your phone, open the app, wait for it to load, tap the right room, then control the thing you wanted to control. It works, but it’s not exactly a “smart” home when you’re doing that ten times a day.
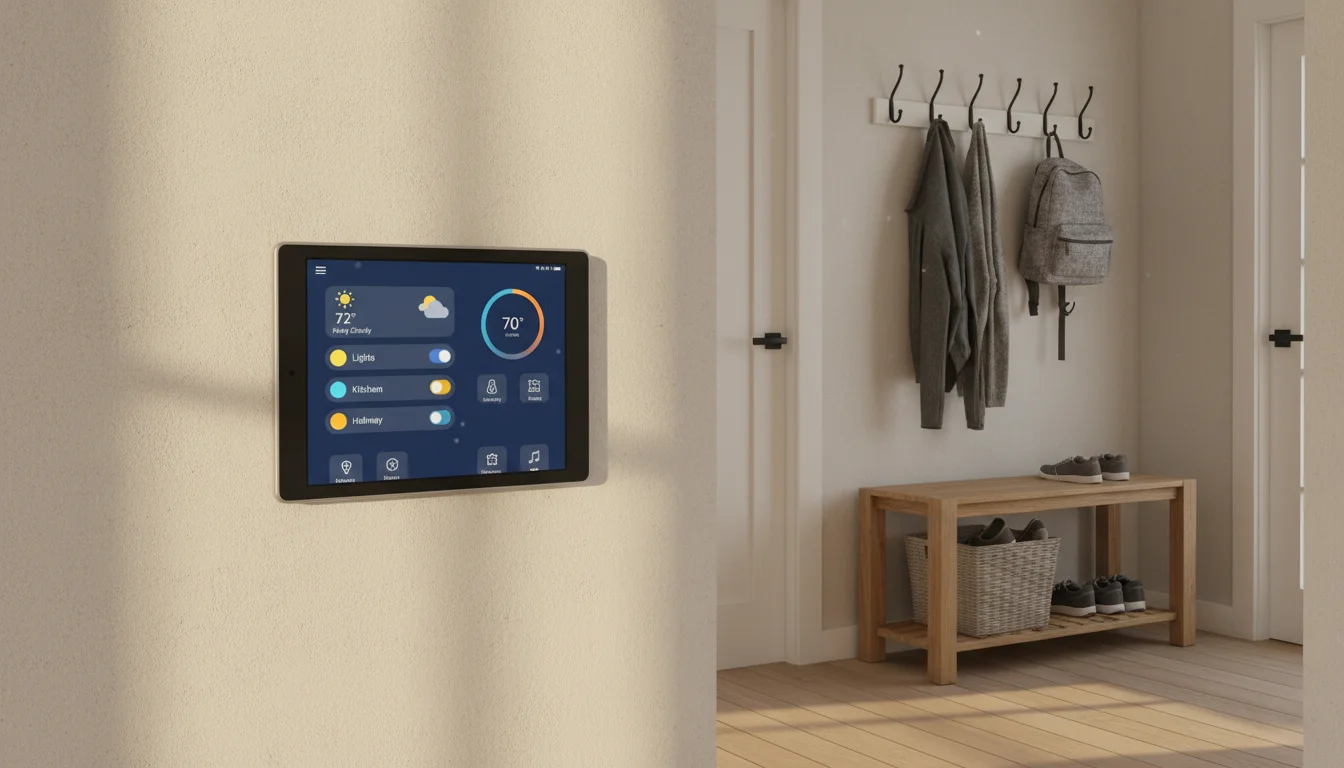
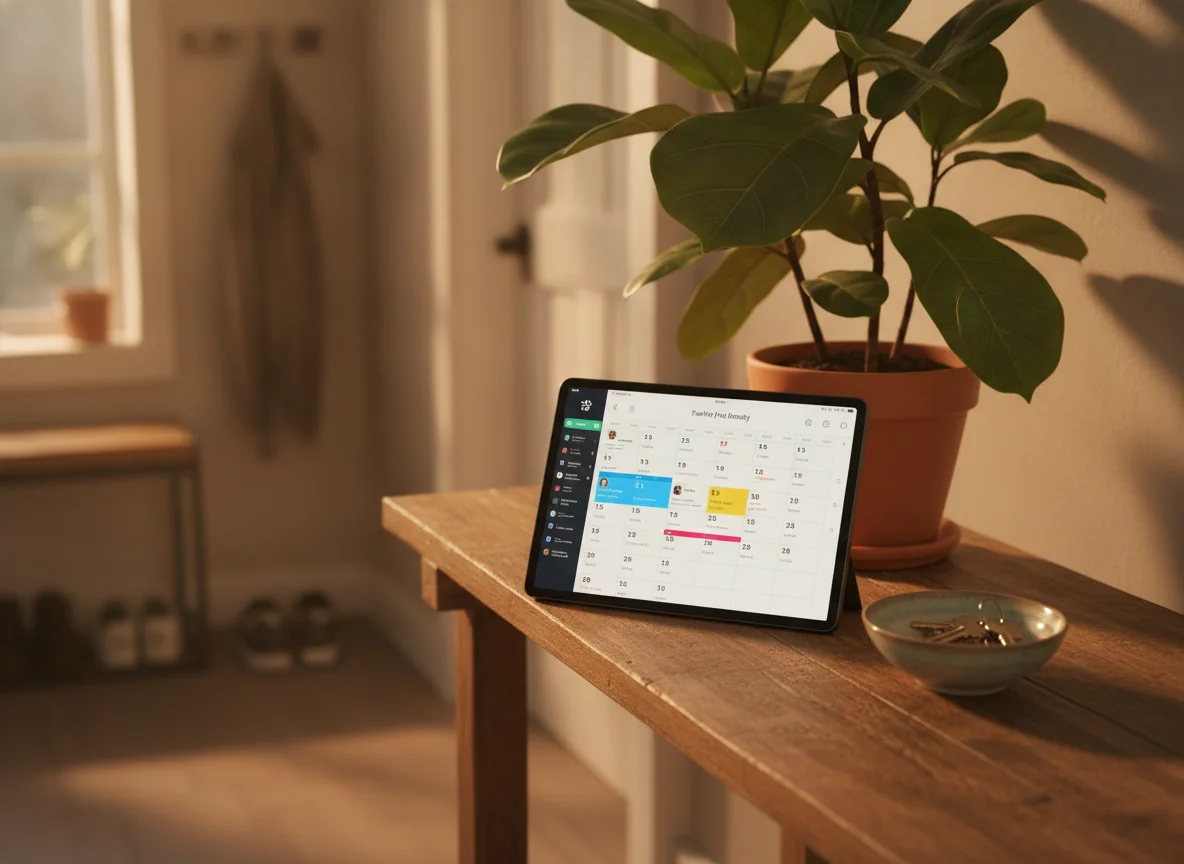
A tablet on the wall changes this completely. One glance at the hallway and you can see which lights are on, what the thermostat is set to, whether the garage door is open, and what the front door camera sees. No phone, no app launch, no hunting for the right dashboard. Just a screen that’s always there.
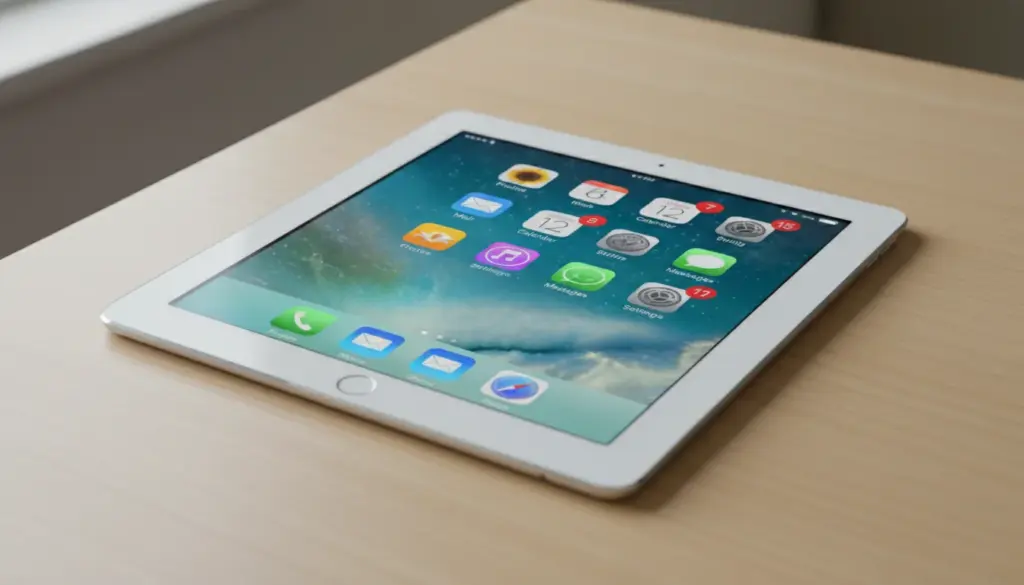
And you don’t need a new tablet for this. That old iPad or Galaxy Tab in the junk drawer? It’s more than capable.
What You Need Before You Start
A running Home Assistant server. This article doesn’t cover setting up Home Assistant itself. You need HA already running on a Raspberry Pi, old PC, NAS, or Home Assistant Yellow/Green. If you don’t have that yet, the  Home Assistant getting started guide is the place to start. If you just want a simple weather-and-calendar dashboard without Home Assistant, our iPad dashboard guide covers that.
An old tablet. Specifically:
- Android 6.0+ for the companion app, or Android 5.0+ for browser-only access
- iPad running iOS 15+ for the companion app
- iPad running iOS 12-14 can still work through Safari (no native app, but the web dashboard is fully functional)
- Amazon Fire tablets work great with Fully Kiosk Browser, and older models are cheap enough to pick up used ($20-40) if you don’t have one lying around
WiFi access. The tablet needs to be on the same network as your Home Assistant server (or you need remote access set up through  Nabu Casa or a reverse proxy).
Power. A wall-mounted dashboard needs to be plugged in permanently. Plan your cable routing before you pick a spot. For the panel itself, an adhesive Koala Mount is what our own hallway dashboard uses – about $17, no holes in the drywall, and the cable tucks neatly behind it. Our mounts and stands guide covers the alternatives if you want screw-in or a full articulating arm.
Option 1: Home Assistant Companion App
The official companion app is the simplest path if your tablet supports it.
For iPads (iOS 15+): Download  Home Assistant from the App Store. Sign in to your server, and you’re looking at your dashboard. The app supports background location tracking, notifications, and sensor data from the tablet itself.
For Android tablets (6.0+): Download from the  Play Store or sideload if your tablet doesn’t have Play Services (looking at you, Fire tablets). The Android app has the same core features plus a few extras like sending sensor data back to HA.
After signing in, set the app to open your preferred dashboard by default. In the companion app, go to Settings > Dashboards, select the dashboard you want, and tap “Set as default on this device.”
Making It Stay On
The companion app doesn’t lock the screen on its own – the tablet can time out, show notifications, or let someone accidentally navigate away. Our always-on display settings guide covers all of this: screen timeout, notifications off, Guided Access for iPad, Fully Kiosk for Android. Work through it once after you get the app running.
Option 2: Fully Kiosk Browser (Android Only)
 Fully Kiosk Browser (~$11 one-time) is the best tool for a wall-mounted Android dashboard, and it has one feature worth calling out specifically for Home Assistant: two-way integration. Once you install the Fully Kiosk Browser integration in HA, Home Assistant can control the tablet – turn the screen on and off, restart the app, adjust volume, even use the front camera for room occupancy detection. It’s not just a display; it becomes part of your smart home.
For the full Fully Kiosk setup – start URL, kiosk lockdown, motion detection, screen management – see our always-on display settings guide.
Fire Tablets as HA Panels
Amazon Fire tablets are the cheapest way into a wall-mounted HA dashboard. An older Fire HD 8 can be found for $20-40 (used or on sale) and runs Fully Kiosk well. Fire tablets don’t have the Google Play Store, so install Fully Kiosk directly from the APK on their website. For more Fire tablet setup ideas, we have a dedicated article.
8-inch screen, cheap enough to dedicate to one HA dashboard and forget about it. Sideload Fully Kiosk from the APK and it runs the same wall panel a $300 Android tablet does.
Check price on Amazon →Option 3: Browser-Only (Any Tablet)
If your tablet is too old for the companion app or Fully Kiosk, you can still use Home Assistant through the browser. This works on any tablet with a halfway-functional web browser, including iPads stuck on iOS 12.
Open Safari or Chrome, navigate to your HA server address, sign in, and bookmark the dashboard. Add it to your home screen for an app-like experience.
The downsides: no push notifications, no sensor data from the tablet, and the browser might reload after sitting idle. But for a “glance at the dashboard” panel, it works.
If you want the dashboard to automatically return to your HA URL after the kids wander away from it, a dedicated kiosk browser does this. Kiosk+ ($29.99 one-time, iOS 12+) locks the iPad to a single URL with an inactivity reset – if someone navigates away, it returns to your dashboard after your set timeout. On newer iPads (iOS 15.6+), Kiosker (free, $24.99/year) or Kiosker Pro ($39.99 one-time) adds motion detection so the screen wakes when you walk past, closer to what Fully Kiosk does on Android.
Building a Good Dashboard
A wall panel dashboard should be different from your phone dashboard. On a phone, you scroll through rooms and devices. On a wall panel, you glance.
Keep it to one screen. No scrolling. If it doesn’t fit on one screen, you have too much on it. Show the essentials for that room or area.
Use large tap targets. Wall panels get tapped by people walking past, often at arm’s length. Small buttons are frustrating. Use the grid card or custom button-card with large icons.
Show status, not just controls. Temperature, door/window status, who’s home, weather, time. A good dashboard is informational first, interactive second.
Install kiosk-mode. The  kiosk-mode custom component hides the Home Assistant header and sidebar, giving you a clean full-screen dashboard. Install via HACS.
Keeping It Running
Wall-mounted tablets have two enemies: battery degradation and WiFi drops. Our battery safety guide and WiFi fix guide cover both. One HA-specific note: both Fully Kiosk and the HA companion app update regularly, and an update can occasionally break your dashboard layout. Set apps to auto-update overnight so you’re not troubleshooting a blank screen in the morning.
Is It Worth the Setup?
If you’re already a Home Assistant user, absolutely. The setup takes 30 minutes to an hour, and the result is a dedicated smart home control panel that cost you nothing (if you already had the tablet) or $20-40 (if you grab a used Fire tablet).
And once it’s up, you stop thinking about it. You just glance at the wall on your way past and know exactly what’s going on in the house.
Home Assistant dashboards are a favorite among tinkerers, and there’s plenty more where this came from. Explore our old iPad ideas page for the full list of tablet projects.