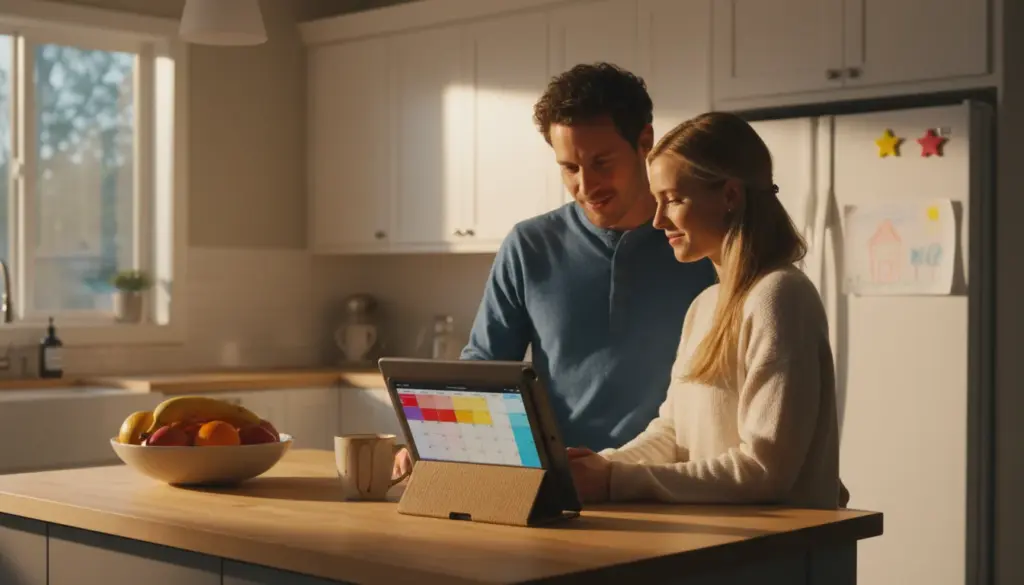
A Tablet Leaning Against the Toaster Is Not a Setup
You repurposed your old iPad. Maybe it’s showing the family calendar, or running recipes in the kitchen, or cycling through family photos. It works. But it’s also propped against the toaster with a folded napkin keeping it from sliding.
The right mount takes a tablet from “forgotten device doing a thing” to “intentional part of the room.” And it doesn’t have to cost much – some of the best options are under $15.
I’ve tried a lot of these. Some fall down. Some look cheap. Some are over-engineered solutions to a simple problem. Here’s what actually works.
Tabletop Stands ($5-15)
For kitchen counters, shelves, nightstands, or desks. You have a flat surface and you need something to hold the tablet upright.
Wooden Stands ($10-15)
A bamboo or walnut tablet stand is the move if you care about aesthetics. The tablet sits in a routed groove, slightly angled back. From across the room, it looks like a small framed picture – not a gadget.
Look for stands in bamboo ($10), walnut ($12-15), or oak. Avoid stands with big rubber grips or visible branding – you want it to disappear behind the screen.
Picture Easels ($3-5)
This sounds ridiculous, but a small wooden easel from a craft store works beautifully for an iPad mini or any smaller tablet. The tablet leans back at a natural angle, the easel is barely visible, and guests genuinely think it’s a framed photo until the image changes.
Best for: photo frames, small shelves, mantels, nightstands. Not great for full-size iPads – the weight makes most small easels tippy.
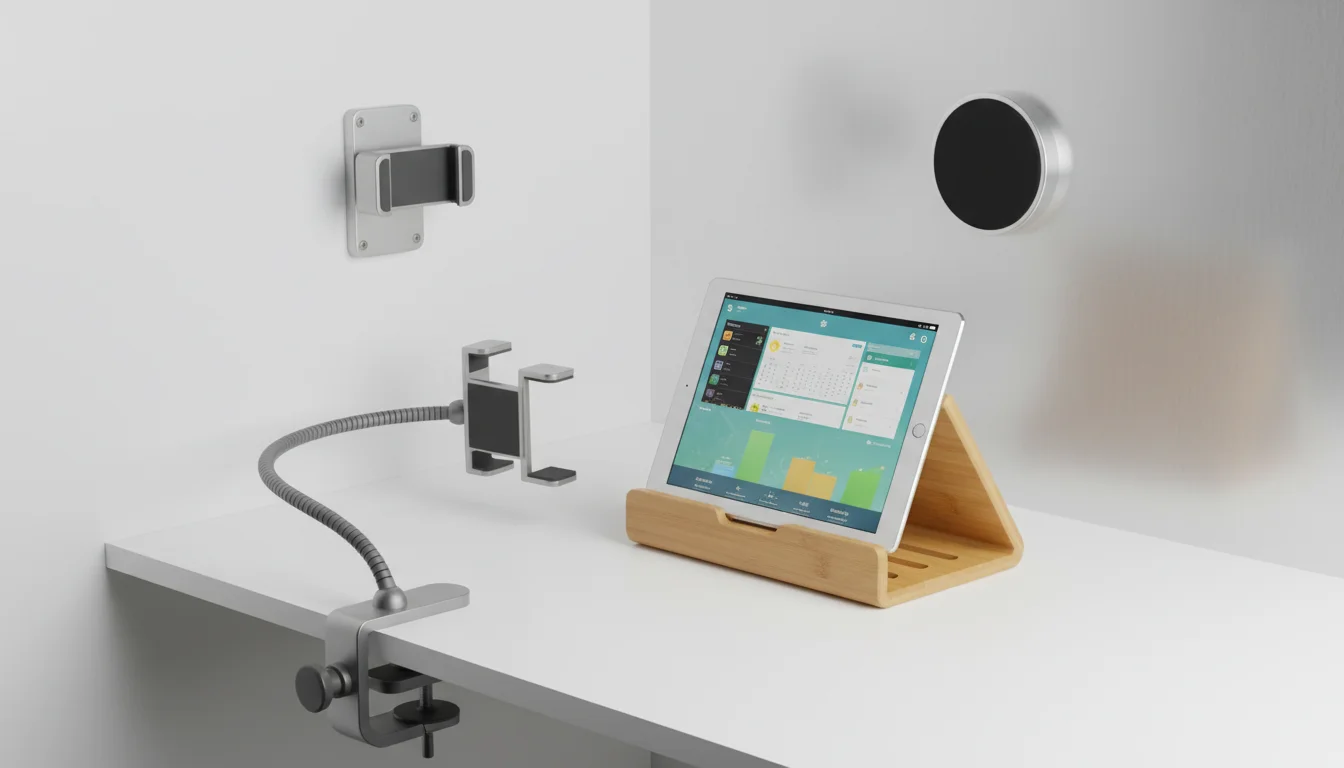
Adjustable Metal Stands ($15-25)
Brands like  Lamicall make folding aluminum stands that let you dial in the viewing angle. They’re not as pretty as a wooden stand, but they’re more functional – you can tilt the screen toward your line of sight from wherever you’re standing.
Best for: kitchen counters where you need to read from a specific angle, or a second monitor setup where tilt matters.
Wall Mounts ($10-30)
Wall mounting is what makes an old tablet look like it belongs. The screen sits flush-ish against the wall, visible from across the room, and nobody knocks it over.
Adhesive Mounts ($10-17)
The  Koala Mount ($17) is the one everyone recommends, and it’s earned it. Two 3M adhesive strips stick to the wall, the tablet clicks into a cradle, and it holds firm. No drilling. No landlord drama. Removes clean with a hair dryer when you move.
There are cheaper knockoffs on Amazon ($8-10) that work similarly. The adhesive quality varies – read reviews. A mount that drops your iPad at 3 AM is not the vibe you want.
Best for: renters, hallways, kitchens, smart home control panels, anywhere you want a clean look without commitment.
Screw-In Mounts ($10-20)
If you own the walls and have kids or cats with a talent for knocking things off surfaces, screw-in mounts are worth the 5 minutes with a drill. They hold tighter than adhesive, and you don’t have to worry about adhesive failing in hot or humid rooms (looking at you, bathroom).
Most screw-in tablet mounts use a bracket or cradle system. The tablet slides in from the top or side and locks in place. Some models include a small Allen key lock – useful if the kids keep pulling it off the wall.
Flush Mounts ($20-40)
The premium option. The tablet sits nearly flat against the wall, recessed slightly, like a built-in screen. If you’ve seen those  YouTube smart home tours where the iPad looks like it was designed into the wall – that’s a flush mount.
These usually require a larger hole or cutout in the drywall, and routing the charging cable through the wall. It’s a Saturday project, not a 10-minute job. But the result is genuinely impressive.
Best for: permanent installations. A weather station in the hallway, a security camera dashboard by the front door, or the kitchen display you plan to keep for years.
Kitchen-Specific Mounts
The kitchen is the most popular spot for a repurposed tablet, and it has its own mounting challenges: steam, grease splatter, limited counter space, and the ever-present need to see the screen from across the room while your hands are covered in raw chicken.
Under-Cabinet Mounts ($15-25)
These clamp or screw into the underside of an upper cabinet. The tablet hangs at eye level, the counter stays clear, and the cabinet provides some protection from steam. Some models fold flat against the cabinet bottom when not in use.
The best ones use a ball joint so you can angle the screen down toward you while standing or straight out for reading from further back.
Cabinet-Door Mounts ($10-15)
A bracket that hooks over the top edge of a cabinet door – no screws, no adhesive. Open the cabinet, hang the mount, close the cabinet, and the bracket is held in place by the door’s own weight. The tablet faces you at eye level.
Simple, removable, and completely damage-free. The downside: it only works when that particular cabinet is closed, and the tablet sticks out about 2 inches (5 cm) from the cabinet face.
Fridge Mounts ($8-12)
A magnetic mount that sticks to the side of your fridge. The tablet hangs there, visible while you cook, and the magnets are strong enough to hold a full-size iPad.
Check your fridge first – some modern fridges have non-magnetic stainless steel sides (the front is usually magnetic, the sides aren’t always). Hold a fridge magnet to the spot before you buy.
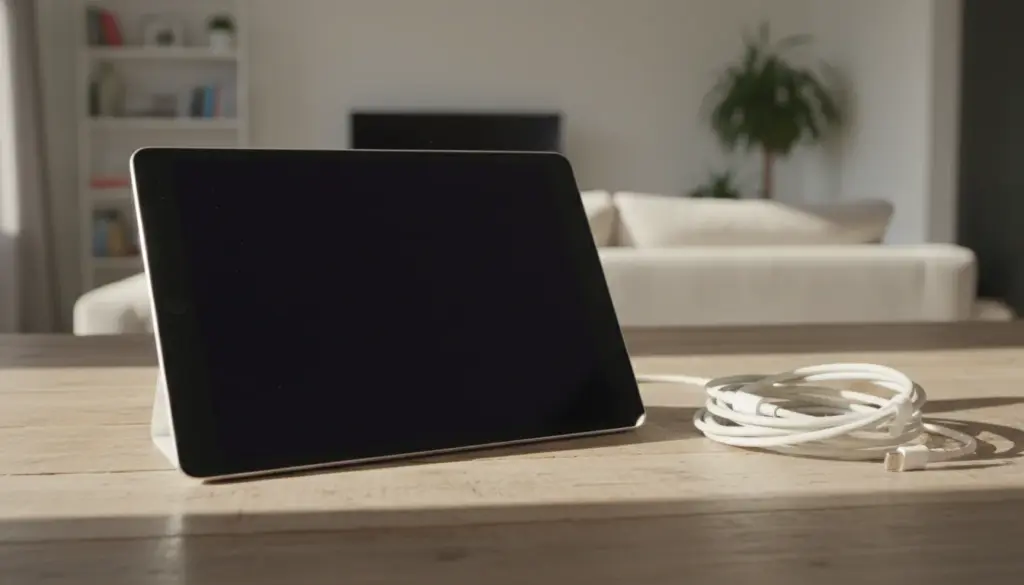
The Cable Problem
Every mount has one ugly detail: the charging cable. You’re keeping this tablet plugged in 24/7, which means a white Lightning or USB-C cable running from the tablet to the nearest outlet.
A few things that help:
Right-angle cables ($8) route along the wall instead of sticking straight out. They look far less noticeable than a cable poking out perpendicular to the screen.
Cable clips ($5 for a pack) – the small adhesive-backed kind – route the cable along the wall or under the cabinet in a clean line. Takes 5 minutes and makes the install look intentional.
Long cables (10 feet / 3 m, about $8) give you routing options. A short cable forces you to mount near an outlet. A long cable lets you mount wherever the tablet looks best and route to an outlet that’s hidden behind furniture or inside a cabinet.
For flush wall mounts, running the cable inside the wall is the cleanest option. Use a cable pass-through plate ($10) and route the cable down to an outlet below. This is the one detail that separates “nice” from “how did you do that?”
What to Get for Each Room
| Room | Best Mount Type | Why |
|---|---|---|
| Kitchen | Under-cabinet or fridge | Keeps counter clear, eye level, away from spills |
| Hallway | Adhesive wall mount | Visible to everyone, no furniture to set it on |
| Nightstand | Wooden tabletop stand | Looks like decor, not a charging station |
| Living room | Wall mount or shelf stand | Depends on where people sit and look |
| Home office | Adjustable metal stand | Angle matters for a second monitor |
| Front door | Wall mount (screw-in) | Security cameras need to stay put |
| Workout space | Wall mount | Eye level, out of the way of exercise |
My Recommendations
For most people: A bamboo tabletop stand ($10-12). It looks good, works everywhere, and you can move it between rooms until you figure out where the tablet lives permanently.
For a kitchen install: An under-cabinet mount ($15-20). Keeps the counter clear and the screen at eye level. Pair it with a right-angle cable and cable clips.
For a photo frame or calendar: A Koala-style adhesive wall mount ($10-17). The tablet sits on the wall like it belongs there, and you can move it without damage.
If you’re going all-in: A flush wall mount with in-wall cable routing. It’s a Saturday project, but the result makes people ask “where did you get that?”
The mount is the difference between a tablet that does a useful thing and one that feels like part of your home. Fifteen dollars and ten minutes gets you most of the way there.