A Wall-Mounted Remote for Your Whole House
Last Tuesday I stood in the kitchen, baby on one hip, trying to turn off the porch lights with my phone. Unlocked it with my chin. Waited for the Hue app to connect. Tapped the wrong room. Started over. By the time the lights went off, the toddler had grabbed a fistful of pasta off the counter.
That was the week I stuck our old iPad Air on the wall next to the light switch. One tap, lights off. No phone juggling, no app hunting, no unlocking anything. Just a screen that sits there, ready, showing every smart device in the house.
You don’t need Home Assistant or a Raspberry Pi for this. If you already have smart devices and an old tablet in a drawer, you’re ten minutes away from a control panel that actually gets used.
What You Can Control
Almost any smart home device that has an iOS or Android app can be controlled from your old tablet:
- Lights: Philips Hue, LIFX, TP-Link Kasa, Wyze
- Thermostat: Nest, Ecobee, Honeywell
- Cameras: Ring, Nest, Wyze, Arlo
- Locks: August, Schlage, Yale
- Plugs/Switches: TP-Link Kasa, Wemo, Wyze
- Speakers:
 Sonos (iOS 17+ or Android 10+ only), Amazon Echo (partial control)
 - Garage: MyQ, Chamberlain
- Robot Vacuums: Roomba, Roborock
The key question isn’t whether your devices work with a tablet – they almost certainly do. The question is how to organize them on one screen.
Option 1: Apple Home App (iPad, Free)
This is what I use, and it took about five minutes to set up. If you’ve already got HomeKit devices paired on your phone, the Home app on your old iPad just picks them up automatically. Open the app, and everything’s already there.
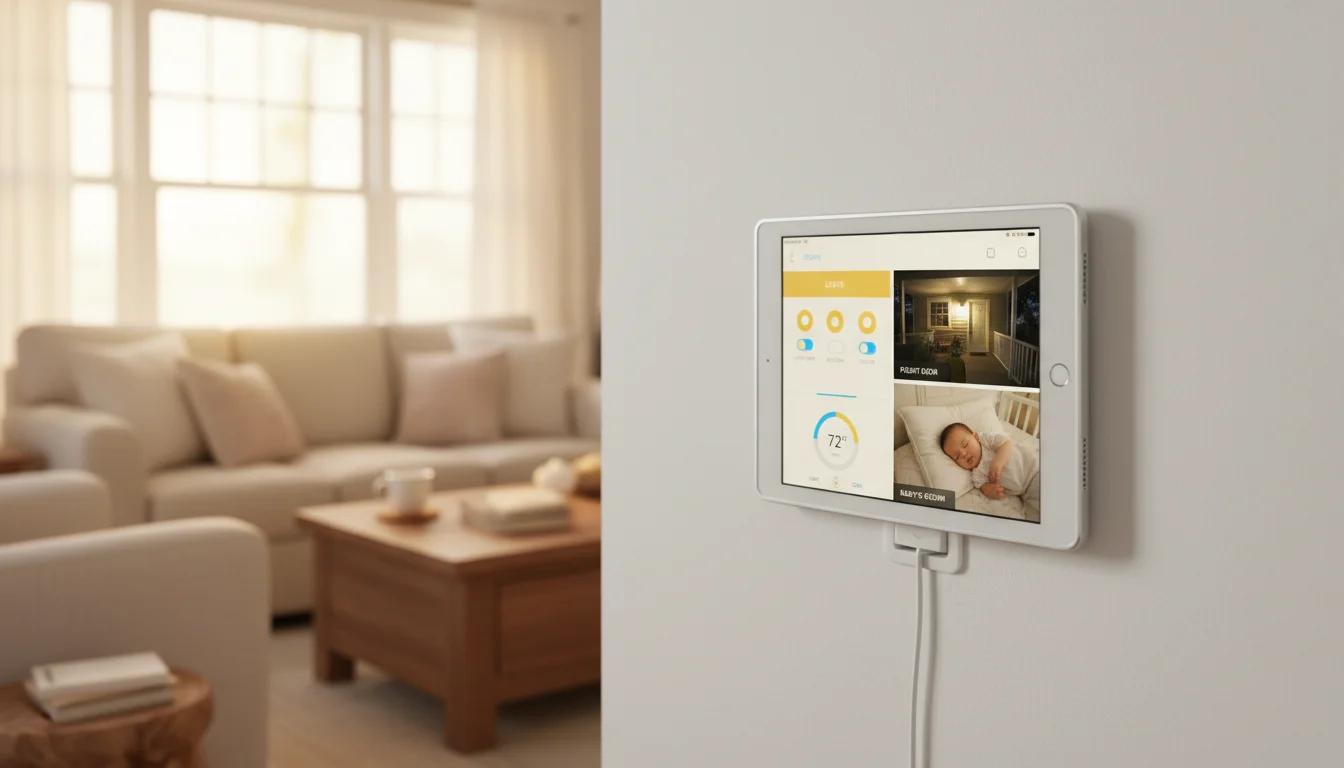
The layout works well for a wall panel: big, tappable tiles organized by room. I pinned lights, the thermostat, and the front door camera to favorites so they show up first. The “Good Night” scene is the one that gets used most – one tap to kill the lights, lock the doors, and drop the thermostat to 67.
The catch is that it only works with HomeKit-compatible devices. If you’ve got a mix (some Hue, some cheap Tuya plugs that only talk to Alexa), you’ll end up with gaps. For a pure Apple household, though, it’s hard to beat something that’s already installed on the iPad.
Minimum iPad: iOS 14+ for the best experience, though it runs on iOS 12+ with a simpler interface. Set Auto-Lock to Never so the screen stays on.
Option 2: Google Home App (Android Tablets, Free)
If your house runs on Nest and Google, Google Home on a tablet gives you tap control for everything you’d normally yell across the room. Thermostat, cameras, routines, lights – all in one place. The Nest camera feeds are especially nice on a tablet screen compared to squinting at them on a phone.
Heads up for iPad owners: Google Home now requires iOS 17.0, which rules out most old iPads. If yours is stuck on iOS 15 or earlier, this app won’t install. Android tablets (8.0+) work fine, so if you’ve got an old Samsung or Lenovo in the drawer, this is a great use for it.
Install it, sign in with the Google account linked to your devices, and everything shows up organized by room. Pin your most-used controls to the main screen and you’re done.
Option 3: Amazon Alexa App (Android Tablets + Newer iPads, Free)
Nobody tells you this about Alexa: you don’t have to talk to it. The Alexa app on a tablet lets you tap your way through lights, locks, cameras, and routines without saying a word. At 10 PM when three kids are finally asleep, the last thing you want is to whisper-shout “Alexa, turn off the living room lights” and risk waking the baby.
The app handles Ring and Blink camera feeds, device groups, and routine triggers as on-screen buttons. It’s not the prettiest interface, but it covers a lot of ground if you’re already in the Alexa ecosystem.
iOS warning: The Alexa app now requires iOS 16.0, so iPad Air 1, iPad mini 2/3, and iPad 4th gen are out. Android tablets running 8.0+ still work fine.
Option 4: Actiontiles or SharpTools (Both Platforms, $25-30)
The three options above show you devices organized by room and type.  ActionTiles and
  SharpTools let you build exactly the screen you want – a custom grid where every tile is a device, a camera feed, the weather, or a scene trigger. My husband spent a Saturday afternoon building one on SharpTools and it looked like a mission control center. A bit overkill for our house, but if you’ve got 10+ devices and opinions about how they should be laid out, this is the way to go.
Both run in a browser, which means they work on any tablet regardless of age or OS. That’s a real advantage for older devices where the native smart home apps won’t install anymore. If you want programmable buttons without a full dashboard, a stream deck setup is a lighter-weight option. Sign up, connect your SmartThings or Hubitat hub, drag tiles around, and open the URL on your tablet.
If you run Home Assistant specifically, check out our guide to setting up an old tablet as a Home Assistant dashboard for a more detailed walkthrough.
ActionTiles is a one-time $29 purchase per SmartThings hub. SharpTools has a free tier with premium at $30/year.
The Practical Setup
Where to Mount It
The most useful location for a smart home control panel is wherever you naturally pass through:
- Hallway near the front door – check cameras, set alarm, turn off lights as you leave
- Kitchen – control music, adjust thermostat, check who’s at the door
- Bedroom entrance – “good night” scene: lights off, doors locked, thermostat adjusted
- Living room – media control, lighting scenes
A  Koala Mount (around $17) on the wall at light-switch height makes it feel like a built-in smart home panel. Much more accessible than a phone in your pocket.
Keep It Simple
I made this mistake early on: I added every single device to the home screen. The Hue lights in the guest room nobody uses. The smart plug behind the couch that controls… I don’t even remember. Within a week I was scrolling past 20 tiles to find the three things I actually tap.
Pare it down. The stuff you reach for every day goes on the screen:
- Main room lights
- Thermostat
- Front door camera or lock
- One or two scenes (morning routine, bedtime)
- Music or speaker control
Everything else can live in the individual apps on your phone for the once-a-month moments you need them.
Combine with a Dashboard
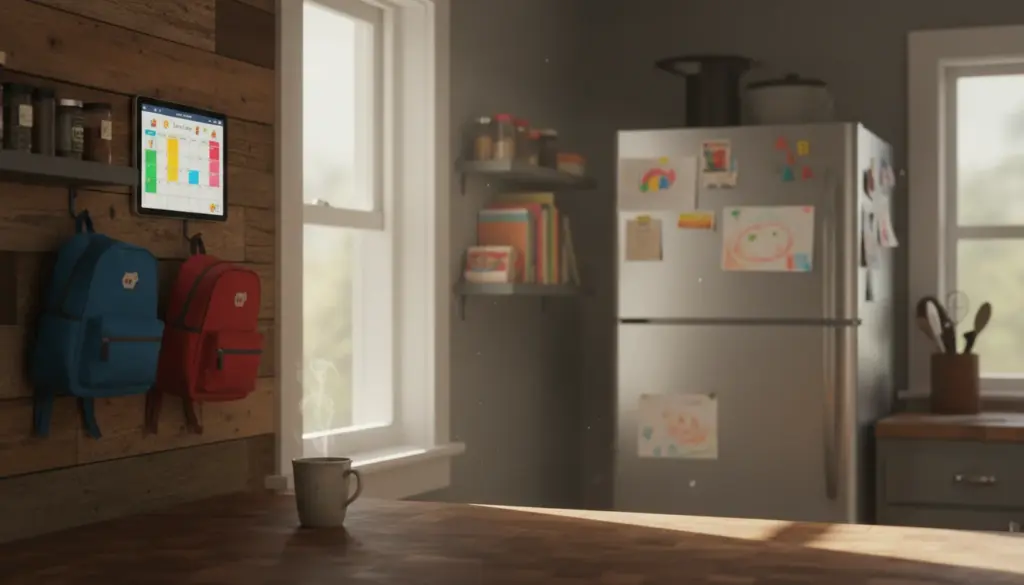
The best wall-mounted tablets combine smart home control with information display.  DAKboard or a similar dashboard app can show your calendar, weather, and family schedule alongside (or rotating with) your smart home controls.
If you’ve already set up a kitchen display, consider adding a smart home tab or scene buttons to the same device.
What Won’t Work Well on Old Tablets
Some things just won’t work well on older hardware:
Live camera feeds: Streaming video from multiple cameras simultaneously requires processing power. An iPad Air 1 or iPad mini 2 can handle one camera feed. Multiple simultaneous feeds will be choppy or crash. Show camera feeds one at a time, or use a newer iPad.
Complex automations: Your old iPad can trigger automations (tap a button to run a routine), but it shouldn’t be the hub that runs them. Use a dedicated hub (HomePod mini, Echo, SmartThings hub) for automation logic. The tablet is just the control screen.
Voice control: An old iPad’s microphone isn’t great for “Hey Siri” from across the room. Use your smart speakers for voice control. The tablet is for tap control.
Quick Setup
| Smart Home Platform | Best App | Cost | iPad Minimum | Setup Time |
|---|---|---|---|---|
| Apple HomeKit | Home app | Free | iOS 12+ | 5 min |
| Google Nest ecosystem | Google Home | Free | iOS 17+ | 5 min |
| Amazon Alexa ecosystem |
Alexa app | Free | iOS 16+ | 5 min |
| SmartThings / mixed | ActionTiles | $29 | Any (browser) | 30 min |
| Advanced / custom | SharpTools | Free+ | Any (browser) | 30 min |
A note on old iPads specifically: If your iPad is stuck on iOS 15 or earlier, Apple Home is your only native app option. Google Home and Alexa have bumped their iOS requirements beyond what older iPads support. The browser-based options (ActionTiles, SharpTools) work on any tablet with a web browser, making them the most reliable choice for truly old hardware. Android tablets running 8.0+ have it easier here – all three major apps still work.
Pick the app that matches your existing devices, set Auto-Lock to Never, and mount it on the wall. Your old iPad just became the light switch, thermostat control, and security monitor you walk past every day.
Smart home control is one of the most popular tablet projects, but there are plenty more. Check out our full roundup of old iPad ideas to see what else that drawer tablet can do.