The Tablet on the Wall Everyone Wants and Nobody Tells You How to Actually Install
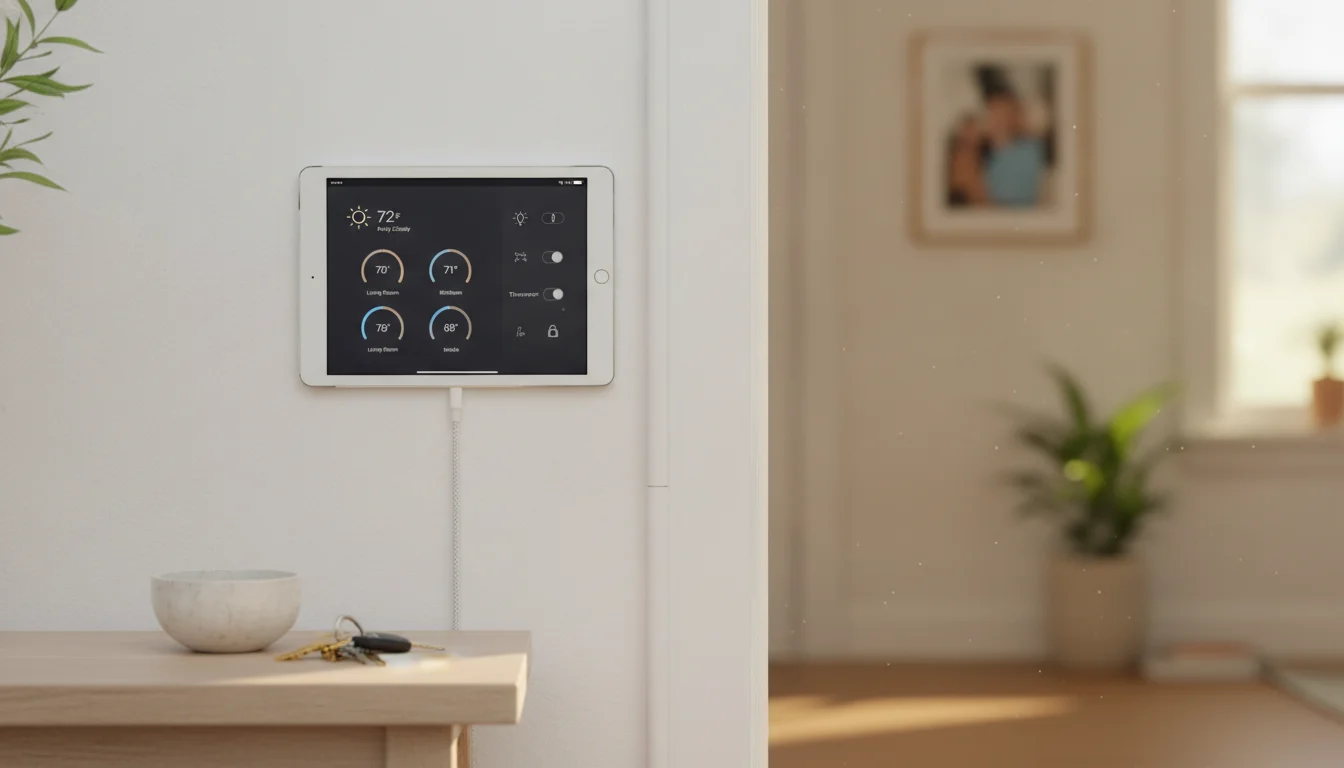
The idea sells itself. Weather, calendar, thermostat, front door camera – all on a screen in the hallway, always on, always the right screen. You already own the tablet. Two afternoons of work and you’re done.
Except two weeks in the tablet has fallen off the wall because the adhesive was rated for four pounds and the tablet with the charging brick pulls five. The cable snakes down the wall to the nearest outlet like a stray extension cord. The screen keeps timing out because the setting you thought handled that only pauses the screensaver. And a month after that the back of the tablet has started to bulge, because nobody told you that leaving an old tablet on a wall charger 24/7 does something to the battery.
None of this is hard. It’s just a lot of small decisions that go wrong when you make them in the wrong order. This is the order.
What This Page Is For
You already have the tablet – an old iPad, an Android tablet, or a cheap Fire tablet you picked up used. You want it mounted on a wall, running a dashboard, and quietly showing you the state of your house or your family calendar without you having to think about it again for six months.
That’s the specific setup this page covers: the physical install, the settings that make the difference between a wall panel and an expensive nightlight, and the two or three things that go wrong later. What you actually show on the screen – Home Assistant,  DAKboard, a simple weather page – is a separate choice, and there are pointers to that at the end.
If you don’t have Home Assistant already and don’t want to install a home automation system to run a wall dashboard, you’re not stuck. Home Assistant is one of three paths here, and it’s not the easiest one.
Will Your Old Tablet Actually Cope
The bar is lower than the internet makes it sound.
iPads on iOS 12 or later. Anything from the iPad Air 2 forward will run the HA web dashboard in Safari (iOS 12+ works). The Home Assistant Companion app runs on iOS 15+ up to the 2026.7 release; from HA 2026.8 the app’s minimum rose to iOS 16.4, so iPads stuck on iOS 15 (like the iPad Air 2 topping out at 15.8.x) will keep an older companion app or use Safari. Either path works fine for a glance-and-tap dashboard.
Android tablets on Android 6 or newer.  Fully Kiosk Browser – the tool that most wall-mounted setups end up on – installs on older Android versions too, but the current release supports Android 6+ properly. The Home Assistant Companion app needs Android 8+.
Fire tablets. Any Fire tablet from the HD 8 forward works. They don’t have the Google Play Store, so you sideload apps from an APK. This sounds fussy; it’s a five-minute job you do once.
What you don’t need: fast processor, current OS, decent battery, or lots of storage. A wall dashboard mostly sits there displaying one page. Even a sluggish 2015 iPad does that without breaking a sweat.
What genuinely disqualifies a tablet: a cracked screen you don’t want to look at every day, a broken charging port, or a battery so degraded it won’t hold enough charge to boot when the power blips. The battery matters less than you’d think – the tablet is going to be permanently plugged in – but it needs to be functional enough that a short power cut doesn’t brick your morning.
Pick the Software First. Then Everything Else Gets Easier.
The mount, the cable, and the settings all follow from what you plan to run on the tablet. Three practical paths:
| Path | Best for | OS needed | Cost |
|---|---|---|---|
| Home Assistant + companion app or web | Already running Home Assistant; want control, not just display | iOS 12+ (Safari), iPadOS 16.4+ (companion), Android 6+ | Free (server exists) |
| Fully Kiosk Browser on Android | Locked-down always-on dashboard, any web content | Android 6+ | Free trial, ~$11 one-time |
| DAKboard or similar hosted dashboard | Weather + calendar + photos, no home automation stack | Any tablet with a browser | Free tier or $5-8/mo |
If you already run Home Assistant, the full walk-through is on our old tablet as a Home Assistant dashboard page. If you don’t and you’re not looking to install one, our old tablet as a smart display breakdown covers the app-and-hosted-dashboard route.
The choice matters here because it changes what the tablet has to do. A DAKboard-in-Safari setup needs almost no lockdown – the tablet stays on the URL because there’s nothing else on it. A Home Assistant panel with a dozen swipeable dashboards benefits enormously from Fully Kiosk or  Kiosk+ ($29.99, iOS 12+) because you want it to reset to the main view when someone wanders away from it.
The Mount
Two things drive mount choice: whether the tablet has VESA holes (spoiler: iPads don’t and most consumer Androids don’t either), and how much weight the mount needs to hold once you add the charging cable and brick.
Adhesive mounts. The  Koala Mount is what our own hallway dashboard has been on for a year. Command-strip based (large strips rated 5 lb each), damage-free if you decide to move it, and about $17. That’s plenty for essentially every iPad and most Androids. Works on painted drywall, tile, cabinet fronts, and glass. Doesn’t work on brick, wallpaper, or textured plaster – the adhesive needs a smooth surface. Ours has stayed put through three summers of Connecticut humidity.
VESA adapter plates. If you want a wall arm – the swing-out kind you can pull toward you and push back – you’ll need a VESA-compatible mount and, for an iPad or non-VESA Android, an adapter plate that the tablet clips into. Search for “VESA 75×75 tablet holder.” These usually run $20-40. Fine if you want articulation, overkill if the tablet is just going to sit in one spot.
3D-printed brackets. If you or someone you know has a printer, there are open-source enclosures for pretty much every popular iPad and Fire tablet model. Look for “wall panel enclosure” plus your device name on Thingiverse or Printables. This is the enthusiast route. It looks great and it takes a weekend.
Just a shelf. Genuinely: for a kitchen or countertop setup, a wall-mounted picture ledge (about $15 at any home store) with the tablet leaned against it works fine. You lose the flush-mount look but you avoid the mount question entirely.
Our full tablet mounts and stands roundup has the specific product options by tablet type.
Where to Put It
Cable access is the deciding factor more than anything else. Pick the spot first, then check what’s within reach of an outlet.
Kitchen. The most popular spot. Somewhere between the coffee maker and the fridge, mounted on the wall or the side of a cabinet. Weather and calendar check while you’re making breakfast. An outlet under the counter usually gets you a clean cable drop.
Hallway or entryway. Weather, family calendar, and the front-door camera on the way out. Cable routing gets harder here because entryways rarely have a nearby outlet – which is why most hallway setups end up with a Command-strip cable channel running down to a baseboard outlet.
Bedroom or nightstand-adjacent. Weather, alarm, morning news at a glance. Set the brightness schedule to drop hard after 9 PM so it doesn’t glow the room.
Home office. Calendar and to-do at eye level next to the monitor. Underrated location; you stop tab-switching to check what’s next.
The kitchen display guide covers the counter and cabinet-side setups in more detail; the same principles apply to a hallway install.
Cable Routing Without Regret
Two versions of this decision, and only one of them ends well.
Fish it behind the drywall. Looks the best. Realistically only worth doing if there’s already an outlet close to where you want the tablet, or if you’re comfortable cutting a hole low on the wall for a new outlet. Not a rental-friendly move.
Surface-mount a cable channel. A paintable plastic channel from any home store (about $10 for six feet) covers a USB-C cable running down to the nearest outlet. Painted to match the wall, it disappears from anywhere but a few feet away. This is what most people actually do, and it’s fine.
Two small things that make either version work:
- Get an angled or right-angle charging cable. A straight cable puts stress on the port every time someone leans in to tap the screen; an angled cable sits flush against the wall.
- If the outlet is more than about eight feet away, use a longer high-quality cable rather than an extension cord. A ten-foot Anker or similar cable costs $10 and doesn’t drop voltage the way a cheap one does.
The Always-On Setup, by OS
The single change most new setups skip. The tablet needs to stay on, not lock, not sleep, not show notifications. The settings are different on each OS.
| OS | What to change | Where |
|---|---|---|
| iPadOS 12 | Auto-Lock: Never; Guided Access on | Settings > General > Accessibility > Guided Access; Auto-Lock is in Display & Brightness |
| iPadOS 13-14 | Auto-Lock: Never; Guided Access on | Settings > Accessibility > Guided Access; Auto-Lock is in Display & Brightness |
| iPadOS 15+ | Auto-Lock: Never; Guided Access on; Focus mode > Do Not Disturb permanent | Settings > Accessibility > Guided Access; Auto-Lock in Display & Brightness |
| Android 8-11 | Screen timeout: longest option (10 or 30 min, no “Never” on most models), plus Developer options > Stay awake while charging, or your kiosk app’s keep-screen-on; Do Not Disturb permanent; disable battery optimization for your dashboard app | Settings > Display; Settings > Sound; Settings > Apps > [dashboard app] > Battery > Battery optimization > All apps > [dashboard app] > Don’t optimize |
| Fire OS | Screen timeout: 30 minutes (Fire’s max); use Fully Kiosk’s built-in “keep screen on” | Settings > Display; then Fully Kiosk settings |
Turn off automatic OS updates – or set them to install overnight – so you don’t come down in the morning to a “Software Update” prompt filling your dashboard. And turn off every notification that isn’t a genuine emergency; there is nothing worse than a spam email banner covering the thermostat control at 6 AM.
For the full deep-dive by device, the tablet always-on settings guide walks through every toggle.
The Battery Bulge Nobody Warns You About
If you spend any time on the Home Assistant subreddit you’ll see the same thread every few months: someone posts a photo of the back of their wall-mounted iPad, bulging outward like an inflated whoopee cushion. The community calls it a spicy pillow. It’s a lithium-ion battery that’s been held at 100% charge on a charger continuously for months or years and has decided to swell.
It’s not a fire hazard in most cases, but it will crack the screen from the inside and it looks alarming. Two ways to avoid it:
Cycle the charge with a smart plug. Plug the tablet’s charger into a smart plug ( Kasa or
  Wyze work for this), and set a schedule that cuts power when the battery is above 80% and restores it when it drops below 40%. Home Assistant can automate this with the tablet’s battery-level entity if you’re already running it. The tablet lives on a 40-80% cycle instead of pinned at 100%, and the battery lasts years instead of months.
Accept the tradeoff and plan for replacement. If you’re using a Fire tablet you bought for $30, letting the battery die in eighteen months and swapping the whole tablet is a legitimate choice. The all-in cost is still lower than a Nest Hub.
Our full tablet battery safety guide has the smart-plug schedules and when to actually retire a device.
Screen Burn, Dust, and Month-Three Surprises
Two small things that show up after the setup honeymoon.
Screen burn on OLED tablets. Some newer iPads and higher-end Androids use OLED screens, which will burn in a static UI if it displays the same layout for weeks. If your dashboard is mostly-static (calendar, weather, room icons in fixed positions), turn the brightness down and let the screen actually sleep for a few hours a day. Or rotate through two or three dashboard views so no single element stays lit in the same pixel forever.
Dust and grease. A tablet on a kitchen wall gets a film on it. A tablet in the hallway near the front door gets it too, from anyone brushing past. Wipe it down weekly with a microfiber cloth – not the cleaning wipes that eat the oleophobic coating.
Wi-Fi drops. Old tablets sometimes disconnect from Wi-Fi after long idle periods, especially when battery-optimisation software decides the connection isn’t earning its keep. On Android, mark your dashboard app as “unrestricted” battery use. On iPad, there’s less you can do at the OS level; the workaround is a home router that pushes short DHCP lease times and a dashboard app that reconnects gracefully when the network reappears.
What to Actually Show on It
Now that the tablet is on the wall and staying on, the interesting part.
The three paths I outlined earlier all have their own setup pages. If you’re running Home Assistant, our Home Assistant on an old tablet page walks through the companion app, Fully Kiosk integration, and building a wall-first dashboard. If you’re not, the smart-display setups cover DAKboard, Google Home, and simpler weather-and-calendar options.
One tip that spans all three: whatever you put on the screen, keep it to one view that fits without scrolling. A wall dashboard is a glance, not a phone. The moment you have to swipe or scroll, you might as well have pulled your phone out. The same glance-first rule applies to specialty setups like a mounted reef aquarium controller.
The Honest Version
A wall-mounted old tablet done well will last two to four years before something – the battery, a Wi-Fi chip that gets flaky, a screen defect – makes it more trouble than it’s worth. That’s a long time for a device that would otherwise be in a drawer.
Ours has been up for a year. Between us and Mark, we’ve had to reboot it once, when a Home Assistant update changed a dashboard element in a way that made a whole card blank. Total time spent on maintenance in that year: maybe twenty minutes.
The setup takes an afternoon. Everything above is the checklist that gets you a wall panel that still works next winter, not one that falls off the wall in March. Pick your software path, pick your mount, plan the cable route before you drill anything, and put a smart plug on the charger. That’s most of the game.
If you’re still weighing whether an old tablet is the right answer versus buying a purpose-built display, the old tablet vs smart display comparison covers the tradeoffs. If your tablet turns out to be too far gone for this, the what to do with a broken tablet page has the shorter list of what’s still possible. For the full list of everything an old tablet can still do, our old iPad ideas page collects them.
The tablet in the drawer wants a job. This is a good one to give it.